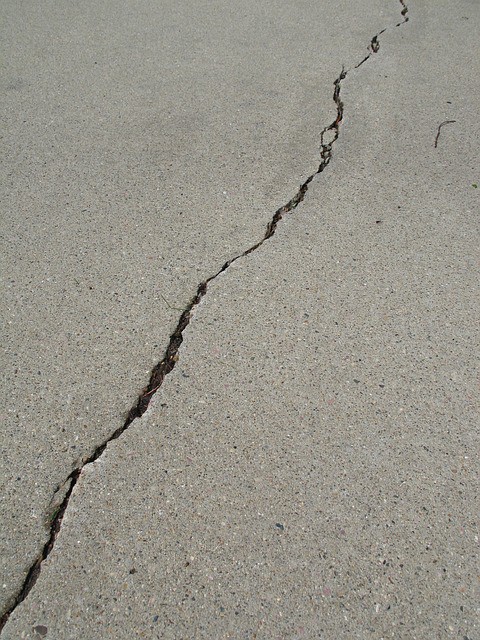
Cracked driveways are more than just an eyesore. Left unattended, they can cause accidents and reduce the lifespan of your driveway.
Driveway cracks can be caused a number of things. Some of these include the movement of soil, freezing and thawing, tree roots growing underneath; name it.
Your first option is to remove the old cracked paving and installing a new one. This can be costly depending on the type of your driveway paving.
The second option is to have it repaired, and resurfaced by a professional.
Wait, did I say two options? Well, apparently, there’s a third, more cost-effective option, which is to repair your driveway cracks yourself.
This will grant you a few more years to use your driveway without breaking the bank.
But you just can’t approach the task without proper knowledge on how to go about it. You’re most probably unskilled and unarmed with the right tools and equipment for the job.
For what it’s worth, you probably don’t even have an idea where to start. But don’t be weary, here are 5 DIY driveway crack repair tips that can make you feel like an expert.
Five DIY Driveway Crack Repair Tips
1. Start with Cleaning
Cleaning is the first and most crucial step to repairing most structural cracks.
You’ll want to start by cleaning any dirt or oil from the driveway surface and inside the cracks.
First, remove any weeds growing in the weed, then use a brush or broom to clean out the dirt.
If there is any grease or oil in the crack, get a degreaser or primer from a hardware store that will help clean out the grease.
It is essential to remove dirt and oil to avoid affecting bonding when installing the filling material.
A leaf blower can still perform the job of cleaning as well.
You can also use a pressure washer and bleach to flash out and kill any moss growing between the cracks out.
2. Assess The Size
The second step is assessing the size and depth of the crack. The size and extent of the crack will also determine the repair process and the materials you will need.
If the crack is less than 0.5-inch, it only requires liquid patch filler from hardware stores.
Such a product is easy to use, and it does not require any mixing on your part.
Spread the compound in the crack and press it in so that it fills all parts of the crack. If any product sticks above the level, you can use a shovel to scrap it off.
3. Larger and Deeper Cracks
Cracks that are bigger than half an inch will demand more work.
First, you need to use a chisel and hammer to break up the crack to create a bigger base.
Breaking up the crack also allows you to identify other smaller cracks that may be concealed.
After opening up the crack, clean up the debris and clean off any grease. After that, you can then fill in the crack with the patching compound.
4. Curing
For small cracks, allow the patching product to set and dry for 4 to 8 hours.
Bigger cracks may require more time, up to between 36 and 72 hrs.
Allow the patching compound to dry for as long as recommended by the manufacturer.
Enough curing time ensures that the patching material bonds and adheres to the old slab.
5. Give It a Seal
Sealing is a crucial part of repairing the cracks in your driveway. Sealing is important because driveway surfaces such as concrete are prone to absorbing stains and covering them can solve this problem.
A water-based sealer is most recommended as it is easy to apply and it dries fast.
Compared to other heavy sealers, water-based sealers are also more bearable. Apply as many coats of the sealer as you need.
With these tips, you won’t necessarily have to spend money hiring a professional.
You can take up the task head-on and repair your driveway to give it a few more years of use. There are also sidewalk crack repair tips, when the need arises.

